Every player has a tape job that just feels right — and it matters more than most realize. Whether you’re wrapping heel-to-toe for full blade control, building a candy cane grip, or adding a knob that fits your glove like a lock, taping is part performance, part ritual.
This guide combines first-hand experience with fresh insights from pro tape jobs, gear market trends, and the latest taping techniques, including what really works based on ice conditions, stick types, and personal play style.
TL;DR
- Taping a hockey stick improves grip, puck control, and shot precision—while protecting the blade and letting players customize feel.
- Common tape jobs include the Classic heel-to-toe, full Sock wrap, Toe-only, and Five-Strand styles—each offering different control and weight trade-offs.
- For the blade, maintain tight overlap and tension to avoid bubbles; decide whether to cover the toe or trim it flat based on puck feel preference.
- On the handle, knobs, candy cane spirals, and ribbed grips offer hand placement feedback and glove stability—some players even use grip alternatives like Buttendz or Lizard Skins.
- Choose black tape to hide the puck from goalies, or white for visibility to teammates; some pros change tape jobs depending on game context or ice conditions.
- Friction tape and wax help improve moisture resistance and puck spin—especially useful on wet or chippy ice surfaces.
- In 2025, the hockey tape market is booming (6.1% CAGR), with rising demand for eco-friendly options and personalized tape designs across all skill levels.
- Pro players treat taping like a pre-game ritual—using it for mental focus, consistency, and subtle gameplay advantages. Your tape job is your signature.
What Is Hockey Tape?
Hockey tape is more than just gear—it’s a performance tool. Whether you’re playing pickup or pushing pro-level minutes, taping your stick the right way can affect how the puck feels, how you shoot, and how long your blade lasts.
What it’s made of:
Most hockey tapes are made from poly-cotton cloth with strong adhesive backing. The weave allows flexibility while keeping a strong grip on the stick. In 2025, players are increasingly turning to upgraded tapes with moisture resistance, extra friction coating, or eco-friendly materials.
Types of tape used in hockey:
-
Cloth tape: The classic go-to. Durable, flexible, and great for both blade and handle taping. It holds wax well and gives you that crisp puck feel.
-
Grip tape: Rubberized or textured grip tape (like Lizard Skins or Tacki-Mac) is often used on the handle. It reduces hand slippage, especially for players with sweaty gloves.
-
Friction tape: Originally used on electrical wires, this thick, sticky tape adds extra puck grip but tends to wear faster. Some pros still love it for wet or icy conditions.
-
Shin guard tape: Clear or colored polyethylene tape used to secure pads, but not for the stick itself.
-
Specialty eco-tapes: In response to environmental concerns, new biodegradable and recyclable hockey tapes are gaining ground among youth and amateur players.
Why it’s different from standard tape:
Unlike athletic tape or duct tape, hockey tape is designed to stay put through slapshots, snow buildup, and sweat. The adhesive is formulated to stay sticky even in sub-zero temperatures, and the surface texture is optimized for grip, not stretch.
The Purpose of Hockey Taping
Ask any player—from beer league to pro—and they’ll tell you: how you tape your stick matters. It’s not just about tradition or aesthetics. Taping your stick influences how the puck feels, how your shot releases, and how long your stick lasts.
1. Better Grip = Better Control
Taping the handle (or butt end) lets you create a knob and custom grip shape that matches your hand positioning and glove feel. Some players build big knobs, others twist rope into the shaft for tactile ridges, while many wrap 10–12 inches down the shaft to reduce slippage during quick cuts or checks.
Taping the blade adds texture that helps grip the puck. That friction gives you better puck feel and stickhandling touch—especially on sauce passes, quick receptions, or toe drags. Blade tape can also reduce vibrations on hard passes or blocked shots.
2. Protection and Durability
Ice, snow, friction, and tape-slashing opponents all beat up your blade. A taped blade forms a protective barrier against:
-
Moisture: Helps slow water absorption and prolong the life of composite or wooden blades.
-
Impact: Minimizes chipping from slapshots, board play, and hacks.
-
Wear and tear: Daily training adds up; tape helps you avoid premature blade breakdown.
For goalies or players logging heavy minutes, re-taping regularly keeps the stick fresh and reliable.
3. Shot & Pass Enhancement
How the puck rolls off the blade matters. Taping from heel to toe can add slight backspin, ideal for snapshots or saucers. Some players reverse it (toe to heel) for smoother release or personal feel.
Also, waxed tape or added blade wax helps reduce ice buildup and water absorption, keeping shots crisp even in cold or humid conditions.
4. Customization and Player Identity
Every player tapes differently. Some prefer the full “sock” look covering the whole blade, others go minimalist with just five wraps across the toe. In 2025, taping is as much about identity as function:
-
Want more toe control? Use the toe wrap method.
-
Need extra cushioning? Add multiple layers.
-
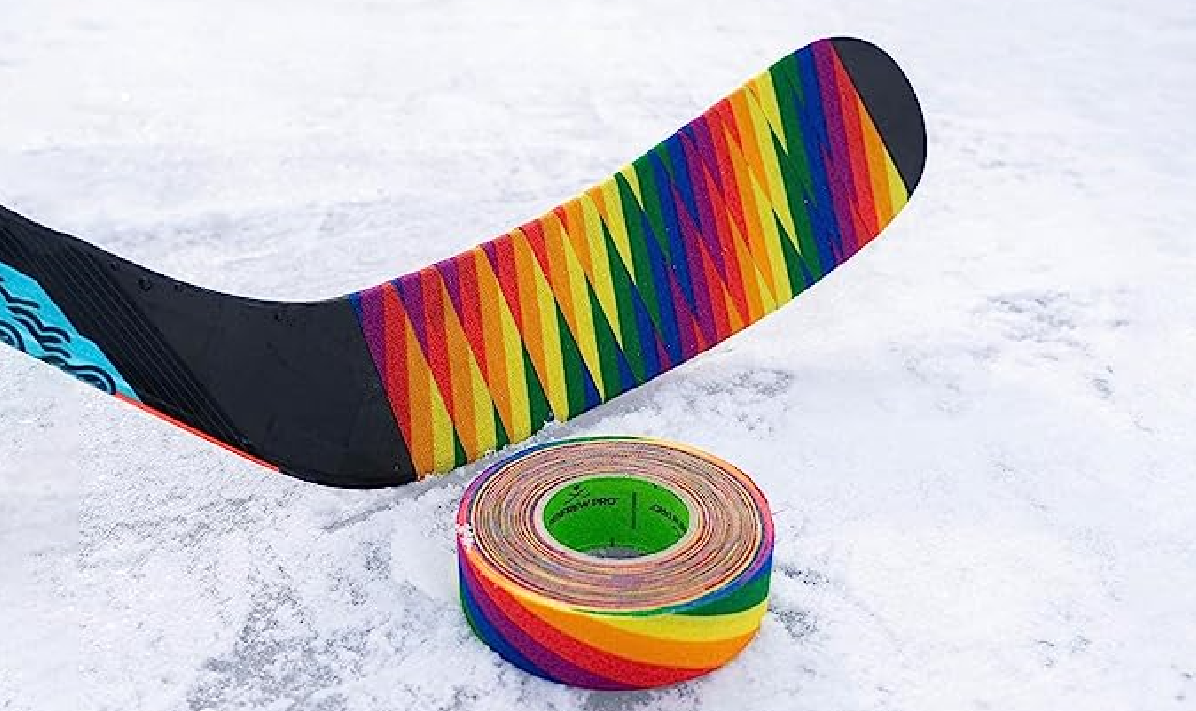
Want your stick to stand out? Use colored or patterned tape.
This blend of form and function lets you build a setup tailored to your hand size, grip strength, position, and playing style.
5. Tactical and Visual Advantage
-
Black tape: Makes the puck blend into the blade—tougher for goalies to track.
-
White tape: Easier for teammates to spot on a breakout pass or cross-ice feed.
-
Patterned tape: Popular among younger and amateur players for expressing style.
Some players even adjust tape color based on home vs away jerseys to maintain stealth or visibility on the puck.
Hockey Stick Taping : How to Tape a Hockey Stick
Here’s how I’ve fine-tuned mine over the years, and what I’d recommend if you’re dialing in your tape job for puck control, grip, and durability.
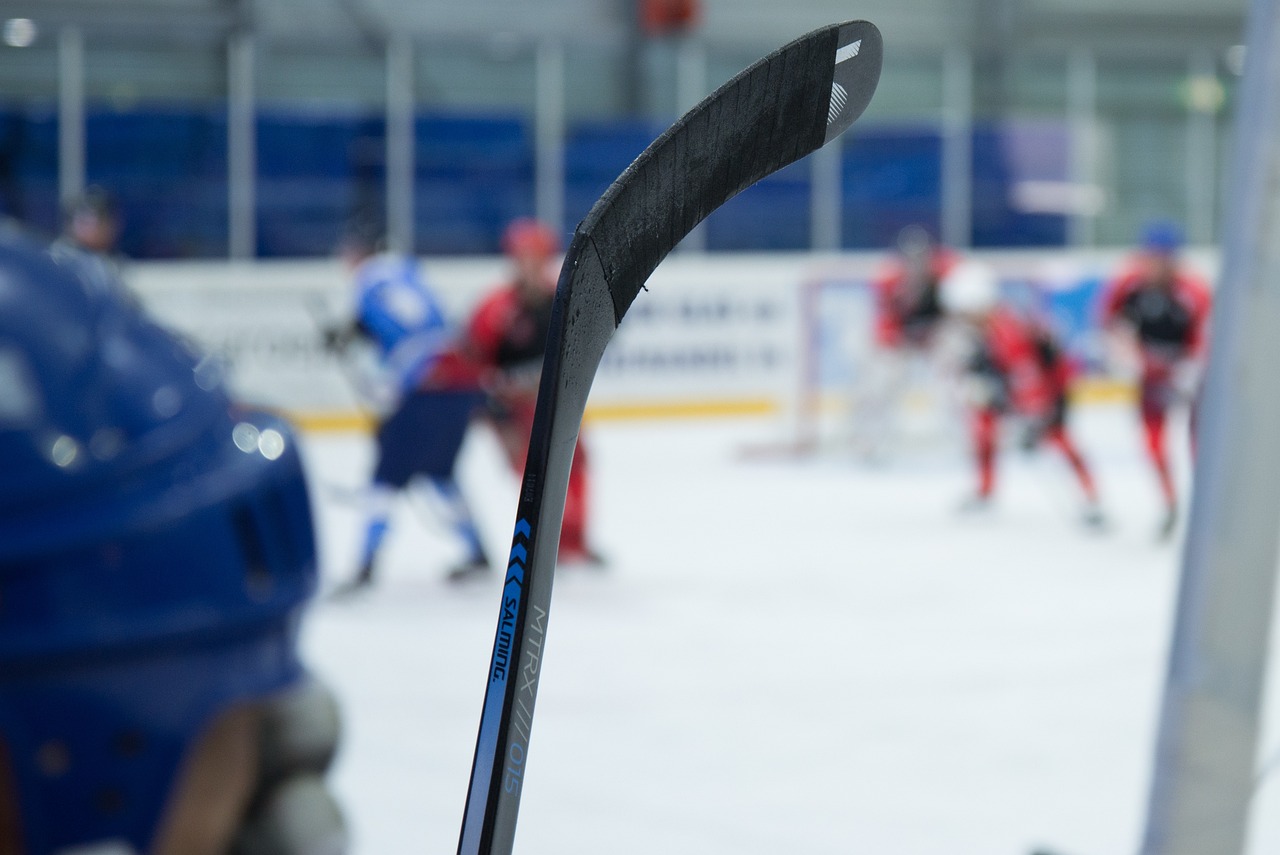
Blade Taping: Heel to Toe vs. Toe to Heel
-
Heel to Toe is the most common style. It enhances puck spin on shots and protects the blade throughout the puck’s path. Downside: the tape can roll up as the puck exits the blade.
-
Toe to Heel offers a cleaner release and reduces tape roll-up. Some shooters prefer this method for quick-release wristers.
Key techniques:
-
Always overlap your wraps slightly for coverage and durability.
-
Apply consistent tension to avoid bubbles and peeling.
-
If taping over the toe, fold and trim the excess carefully with sharp scissors for a snug finish.
Should You Tape Over the Toe?
-
Yes: Adds protection, especially if you do a lot of toe drags.
-
No: Keeps the blade light and reduces drag on shots.
Handle and Knob Taping
-
Start with 10–12 loops at the top to form your knob.
-
Spiral the tape down the shaft for your grip — usually 6–12 inches, depending on hand placement.
-
For better control, twist a length of tape into a rope and wrap it under your handle tape to create a ribbed or candy cane grip.
Quick Tips
-
Use wax after taping to seal the job and reduce water absorption.
-
Black vs. white? Black hides the puck; white makes it more visible to teammates.
-
Tension and alignment matter more than style.
Gear You’ll Need
-
1″ or 1.5″ tape (cloth or synthetic)
-
Sharp scissors
-
Optional: puck wax, extra grip tape (e.g., Buttendz, Tacki-Mac)
Check out the below table for quick overiew.
| Step | Process | Why It Matters |
|---|---|---|
| Blade Tape | Overlap heel to toe or toe to heel | Enhances puck feel, protects blade |
| Handle Tape | Wind downward from the knob | Improves grip and control |
| Rib Grip | Rope wrap under spiral | Adds feel and reference for your top hand |
| Toe Wrap | Optional fold and trim | Adds durability and friction for toe drags |
Advanced Hockey Stick Taping Techniques and Custom Styles
Once you’ve got the basics down, taping becomes personal. Every player has their quirks, and in 2025, customization is the norm — not the exception. Here’s how players at every level are experimenting, optimizing, and expressing themselves through their tape jobs.
Popular Blade Tape Styles
| Style | Description | Benefits |
|---|---|---|
| The Classic | Heel-to-toe, full coverage, slightly exposed toe | Balanced grip and puck feel |
| The Sock | Full wrap, heel to toe and over the toe | Maximum blade protection and cushioning |
| Toe Tape | Starts mid-blade and wraps to toe | Ideal for toe draggers and quick-release shooters |
| 5-Strand | Just five narrow wraps near the toe | Lightweight, fast puck release, minimal friction |
| Minimalist | Single strip or edge tape only | Direct puck feel, low friction, but minimal protection |
| The Spiral | Wraps diagonally heel to toe | Stylish look, solid grip across contact zones |
Handle + Shaft Taping Variations
-
Candy Cane Wrap: Spiral wrap down the shaft — boosts grip without bulk.
-
Ribbed Grip (Rope Wrap): Twisted tape underlay, great for top-hand reference points.
-
Grip Tape Alternatives: Brands like Buttendz or Tacki-Mac are replacing traditional tape for players who want a reusable, molded feel.
Modern Pro Taping Styles
-
Auston Matthews: Thick knob with tacky grip tape, white blade sock.
-
Sidney Crosby: Simple mid-blade black wrap, no toe cover.
-
Connor McDavid: Slim knob, long handle spiral, minimalist blade taping.
You don’t need to copy pros, but studying their styles can give you inspiration. Try different blade coverages, knob sizes, and tape tensions. I went through 6–8 tape jobs before settling into one that gave me the best puck feel without extra bulk.
Style Meets Strategy
-
Use black tape on the blade if you want to hide the puck from goalies.
-
Choose white or colored tape if visibility and aesthetics matter more.
-
Try grip wax or beeswax post-taping to seal and enhance friction.
-
If you play outdoors or on poor ice, go with synthetic or water-resistant tape.
Latest Trends: Tech, Sustainability, and Evolving Preferences in Stick Taping
Hockey taping isn’t what it used to be. In 2025, players across all levels are redefining what tape means — not just in how it performs, but in how it aligns with style, sustainability, and science. Here’s what’s new and why it matters.
📈 Market Growth and Player Segmentation
-
The hockey stick tape market is projected to grow from $115M (2023) to $195M by 2032, with CAGR ~6.1%.
-
Professional players are driving demand for ultra-durable, grip-enhancing tape.
-
Amateur and recreational skaters lean toward affordable, customizable options — bright colors, patterned tapes, and creative styles dominate.
-
Goalies and youth players prioritize feel, durability, and visibility for coaching.
♻️ Sustainability on the Rise
-
Eco-friendly tapes made with biodegradable materials are gaining traction, especially in Europe and youth leagues.
-
Players are becoming more conscious of waste — replacing tape only when necessary, using reusable grip sleeves, or opting for wax-based sealants.
🧪 Technological Advancements
-
Friction-enhanced coatings: Popular in wet or icy conditions, these tapes improve puck control even on bad ice.
-
Water-resistant synthetics: Help keep sticks light throughout play, minimizing slippage due to moisture buildup.
-
Custom-textured tapes: Some brands now offer adjustable surface textures — smoother for passing, tackier for puck feel.
🧤 Modern Alternatives to Traditional Tape
| Product Type | Example Brands | Used For | Key Benefit |
|---|---|---|---|
| Rubber Grip Sleeves | Buttendz, Tacki-Mac | Knob and upper shaft | Reusable, durable, non-fraying |
| Polymer Wraps | Lizard Skins, Chamois | Handle grip or full shaft | Lightweight, weather-resistant |
| Wax Coatings | Howies Wax, Sex Wax | Blade sealing and water repellency | Enhances puck control and longevity |
These aren’t gimmicks. Players at every level — especially goal scorers and puck distributors — are adopting them for tactical reasons. I switched to a rubber grip on my top hand this season and immediately noticed less glove bunching and better control when spinning off checks.
🧠 Taping and Performance Psychology
Don’t underestimate the ritual. In locker rooms across leagues, taping is a mental reset, part of the pre-game flow. Whether you’re a beginner or elite, that five-minute taping session becomes your calibration moment — one that’s as much about mindset as mechanics.
Buying Guide: Choosing the Right Hockey Tape in 2025
Not all tape is built the same. Picking the right one depends on your position, preferences, and where (and how often) you play. Here’s what I’ve learned after testing everything from big-box synthetics to pro-stock cloth rolls.
✅ What to Look For
| Factor | Why It Matters |
|---|---|
| Adhesion Strength | Prevents peeling mid-game. Especially important for blade toe wraps. |
| Durability | Longer-lasting tape saves you mid-practice rewraps. |
| Moisture Resistance | Keeps the blade light and responsive on wet or snowy ice. |
| Thickness | Impacts puck feel. Thicker tape adds cushion but dulls responsiveness. |
| Color / Camouflage | Black hides the puck on shots, white makes it easier for teammates to see. |
| Eco-Friendliness | New options include biodegradable and plant-based tapes with solid grip. |
🔥 Top Brands (2025)
-
Howies – Still the go-to for premium cloth and wax combos. Longest blade life.
-
Renfrew Pro – Affordable, widely available, solid stretch and tackiness.
-
Comp-O-Stik – Great all-weather synthetics. Sticks well in humid arenas.
-
Tacki-Mac / Buttendz – Reusable grip alternatives if you want a cleaner shaft and less residue.
💻 Where to Buy
Most players now get tape online — Amazon, SidelineSwap, Pure Hockey, and brand sites all stock pro-level options. For specialty options (custom colors, eco tape), ProStockHockey.com and HockeySupremacy.com have the deepest inventory.
Tape Care: How to Extend Performance and Rewrap Smartly
If you’re like me, you hate re-taping mid-session. Here’s how to make your tape jobs last and when to swap them out.
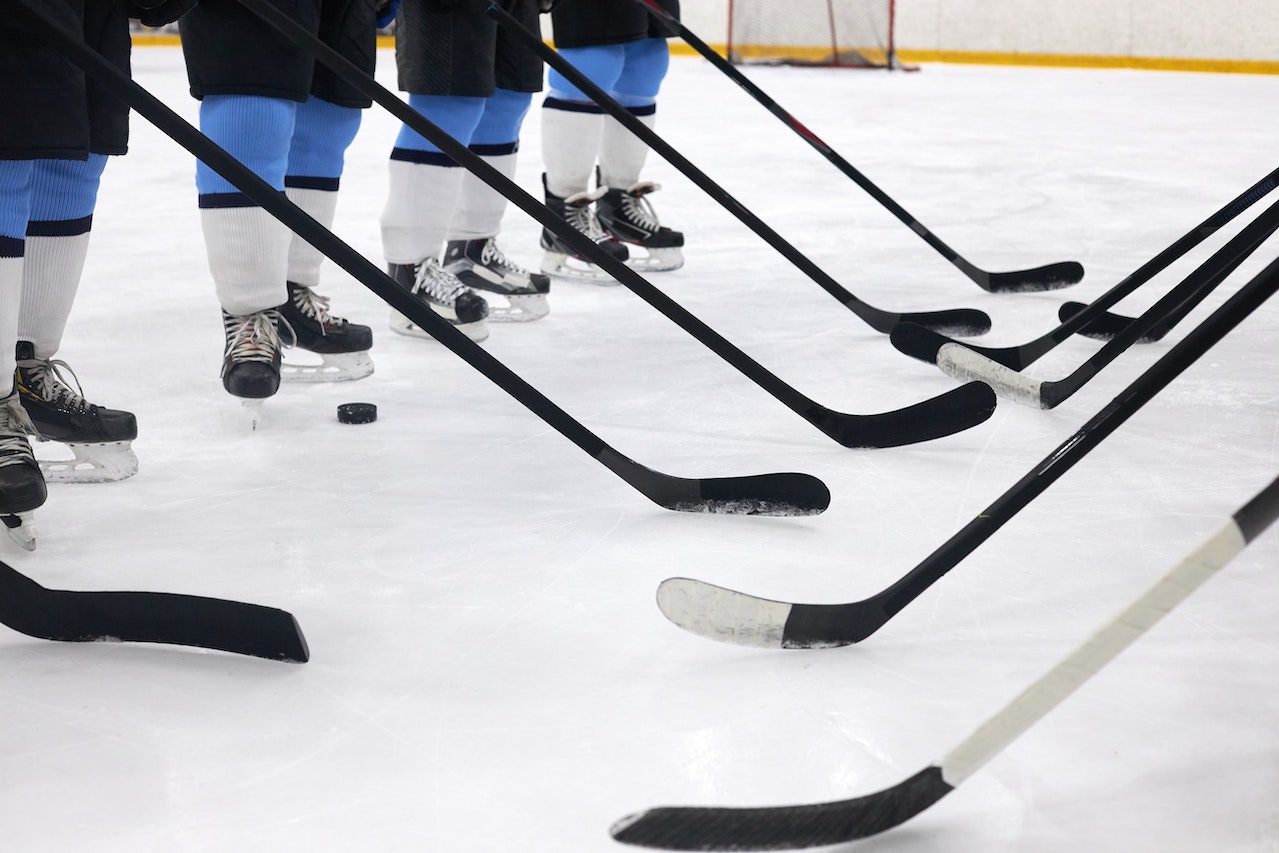
🧼 Maintenance Tips
-
Dry your stick after every game — blade and shaft. Moisture is what kills tape.
-
Pat tape flat with a puck or your glove before skating to reduce peeling.
-
Use wax to seal edges and add tack. It also adds minor water resistance.
When to replace hockey tape
| Frequency of Play | Blade Retape | Handle Retape |
|---|---|---|
| Daily / Competitive | Every 1–2 games | Weekly or as needed |
| Recreational (2x/week) | Weekly | Every 2–3 weeks |
| Outdoor play | Before each skate | Weekly |
If the edges are fraying, waterlogged, or you lose puck feel — it’s time. Keep a roll and scissors in your bag. No excuses.
Frequently Asked Questions on Hockey Taping
What’s the best way to tape a hockey stick blade?
Start at the heel and wrap toward the toe (or vice versa if you prefer puck spin off the tape). Overlap each wrap slightly to prevent fraying and ensure solid grip. Keep even tension—this avoids bubbles or wrinkles that mess with puck feel.
Toe wrap or no toe wrap?
Totally your call. Covering the toe gives you a bit more edge control, especially for players who toe drag or lift pucks in tight. If you skip it, trim clean at the toe’s edge and press down the seam for durability.
How much tape should I use?
Enough to match your play style and feel. I use a full blade wrap and about 8 inches on the handle with a spiral rib, but some guys tape only the toe or bottom edge for max puck feel. There’s no wrong answer—just consistency.
What does black vs. white tape do?
Black tape hides the puck better from goalies. White tape makes it easier for your teammates to track passes. I switch it up depending on where I’m playing and who I’m passing to.
How do I tape the knob or grip at the top?
Start with a few tight loops at the top, then spiral down 6–10 inches for hand grip. You can add a “candy cane” spiral with a twist of tape rope underneath if you want more texture or a DIY ribbed grip.
What if my tape wrinkles or peels early?
Use more overlap. Keep steady tension. And smooth it down with your glove or the puck. If it’s still bubbling, try a different brand or use stick wax for extra hold.
Can I use alternatives to cloth tape?
Yes. Buttendz and Tacki-Mac grips are reusable and give a rubberized feel. Great if you hate sticky residue or go through rolls too fast.
What’s the difference between synthetic and cloth tape?
Synthetic is lighter, doesn’t absorb water, and holds tighter. Cloth tape feels better on the blade, especially when stickhandling. I use synthetic outdoors or when ice is wet.
Is there a right tape job for defensemen vs forwards?
Generally, defensemen might go minimalist for quicker puck release. Forwards often want full coverage for better feel and toe control. That said, some of the best d-men still wrap full sock style—go with what gives you confidence.
My Take on Hockey Stick Taping
Start with heel-to-toe. Keep tight overlaps. Choose black for stealth or white for visibility. After that, test. Want more grip? Add a spiral or build your knob. Playing on rough ice or outdoors? Try thicker cloth tape or friction tape.
Taping is part ritual, part science — but mostly personal. With practice, your tape job becomes your edge.
Hockey Taping Glossary
| Term | What It Means |
|---|---|
| Sock Wrap | Full blade coverage for grip and protection. |
| Toe Wrap | Covers the toe edge for puck feel and durability. |
| 5-Strand | Quick, light taping near the toe — fast releases, less weight. |
| Candy Cane | Spiral down the shaft for grip customization. |
| Knob | Top handle build-up for better hand placement and control. |
| Friction Tape | Extra-grippy tape — great in wet or chippy ice conditions. |
| Stick Wax | Applied over blade tape to repel moisture and improve puck spin. |
| Eco Tape | Biodegradable or sustainable hockey tape alternatives. |
References
- Video Tutorial: How to Tap a hockey stick
- Why Hockey Players Tap Hockey Sticks?
